That's Why for WordPress: how to install Real User Monitoring
Published 12 January 2021 14:57 (2-minute read)
We made a plugin for WordPress that lets you add the That's Why Real User Monitoring snippet to your website. Want to know how you can install Real User Monitoring on your WordPress website. Then this post is for you!
What is RUM?
First of all, what is Real User Monitoring for WordPress by That's Why?
With this WordPress plugin, you can add That's Why Real User Monitoring to your WordPress website. It makes use of a content delivery network (CDN) powered by more than 250 servers worldwide!
This Real User Monitoring service gives you inside into your website performance from real visitors. They collect the information based on the Core Web Vitals defined by the web.dev team.
Note: in May 2021, Google planned to roll out a new ranking factor for their organic and advertisement ranking positions. This is based on the Chrome User Experience Report (in short, CrUX) collected by Google. At this moment it's not clear how much impact this ranking factor change will be, so now it's the time to prepare your websites.
If you want this WordPress plugin for Real User Monitoring, you need an active That's Why account.
Installation
The installation is as simple as you want.
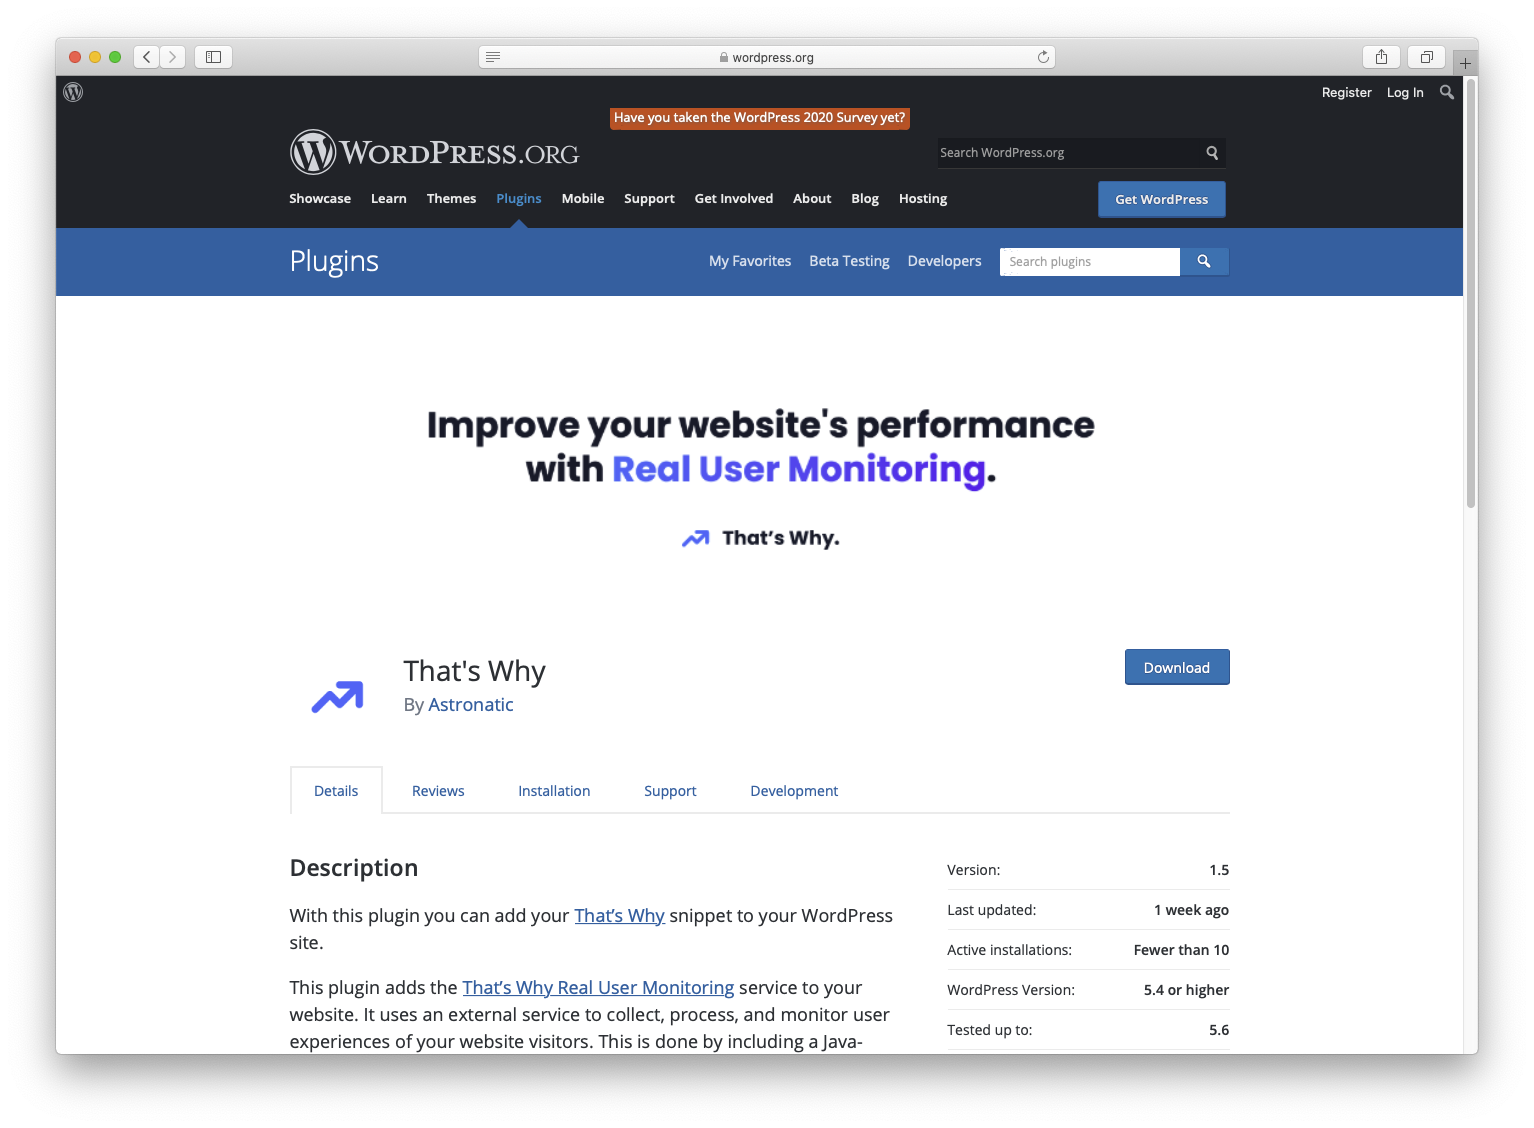
Download the plugin from WordPress.org
You can download the plugin from Wordpress.org/plugins/thats-why.
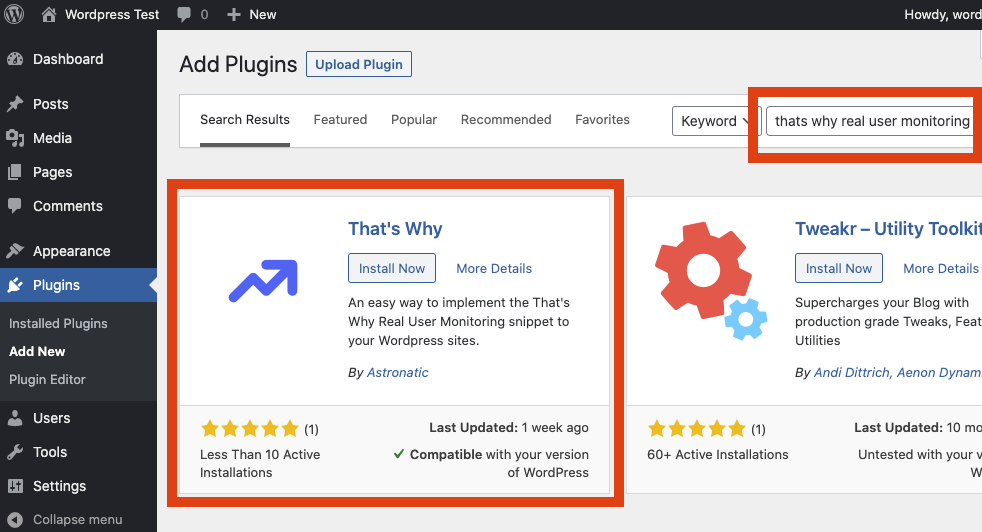
Download the plugin within your WordPress site
When you search for "thats why real user monitoring" you will find the plugin.
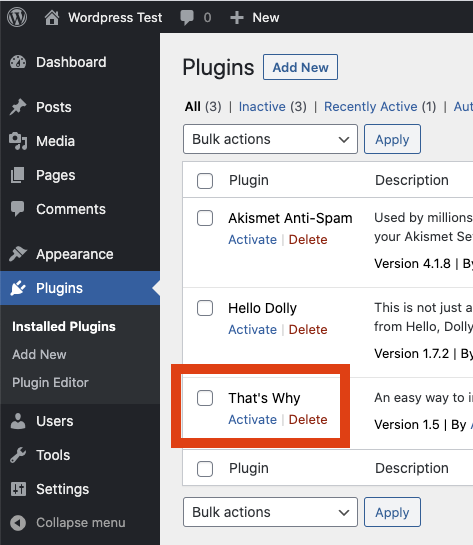
Activate the plugin
Simply activate the plugin within your WordPress installed plugins section.
Configure the plugin
To activate this plugin, you need an active account on That's Why. You can create an account here.
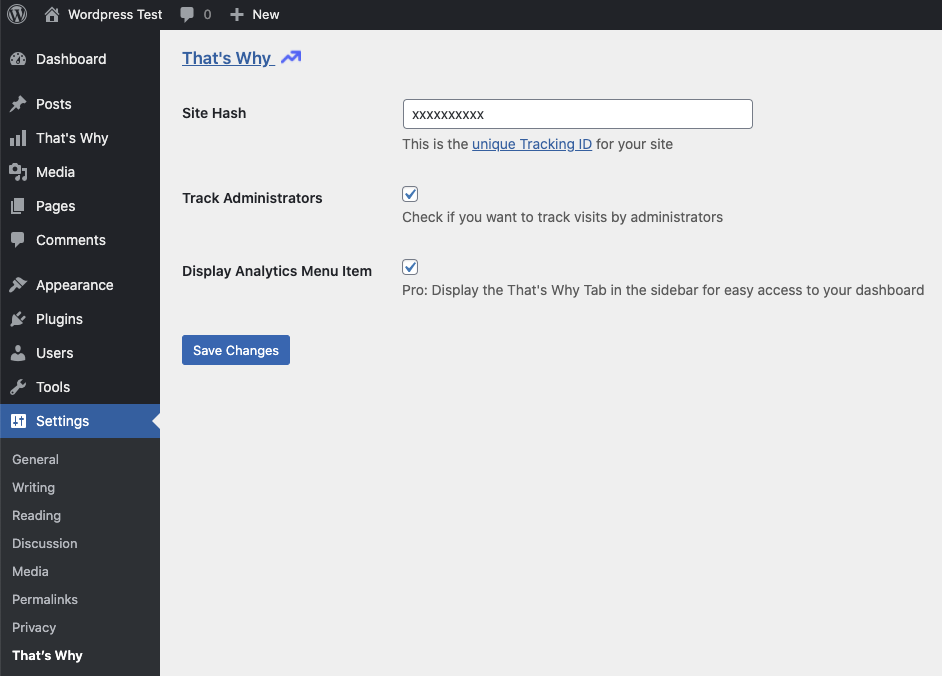
After you added your website to That's Why you can get your "site hash" from the installation instructions. You need this site hash and fill it in the configuration form.
Go to "Settings > That's Why" and fill in the "Site Hash".
After you filled the Site Hash, click "Save Settings," and your website is using That's Why.
Optimize user experience
After you got some data from your website visitors, you can visit your site via the That's Why Dashboard.


